Monday, 10 January 2011

Storage Room Development


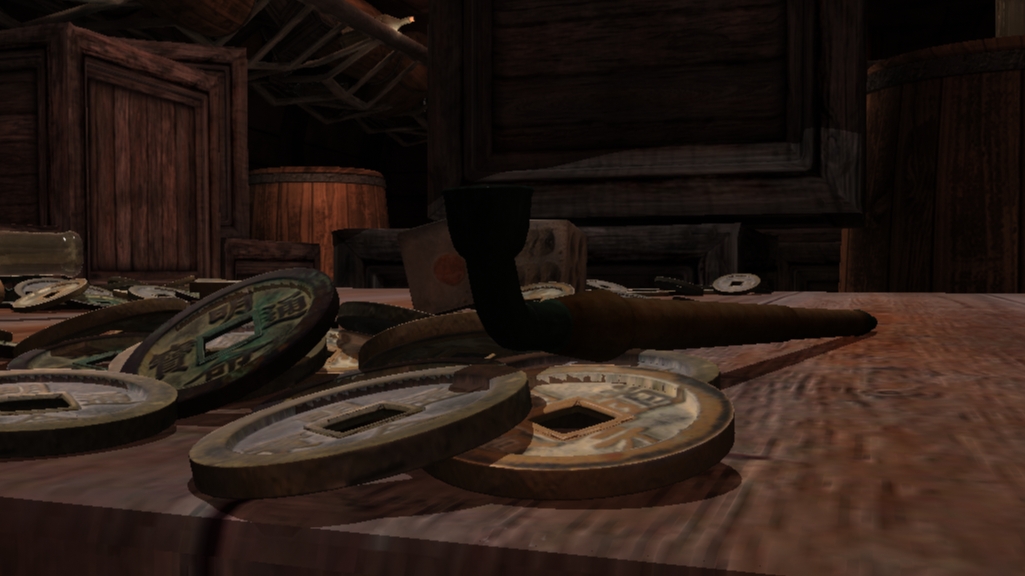
Here is the shot of the storage room. Showing the empty room with the old disgusting water and the split rice sack pouring out.

The models of the grain sack and Barrels were textured and modeling by me. I textured the walls and floor also. Me and Sanjay worked on this shot alot together. There are 3 shots intotal that show this room starting from a zoomed out shot and then each shot slowly moves closer. I did the lighting for this one then worked with Sanjay to get the rest of the room looking the way we wanted.

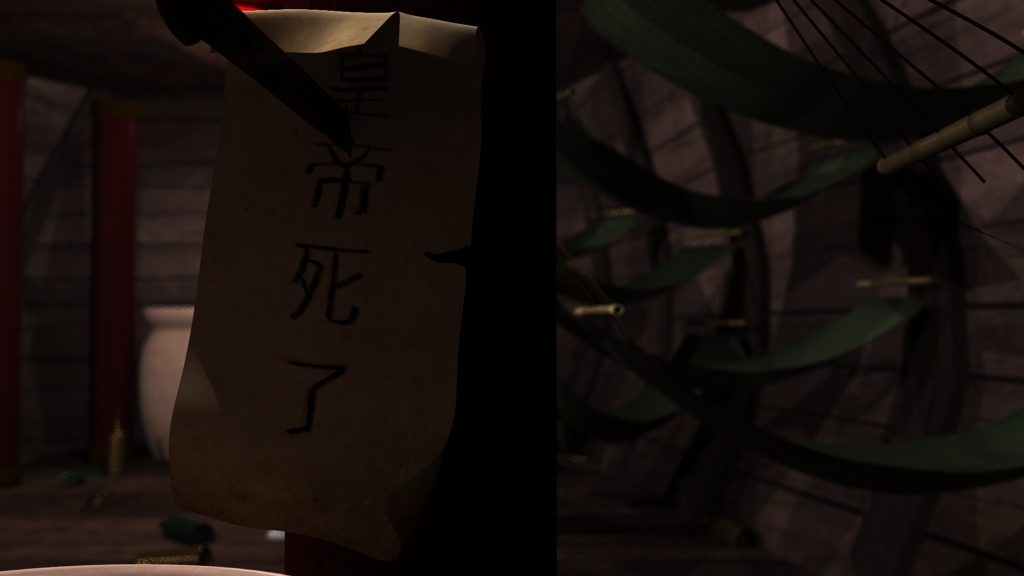
I also composited the red tint to the shot as we want there to be a contrast between the outside and inside of the ship.

The first two images show the first completed render we did! and damn did we learn from it. Here we had separate layers and render passes. It took 4 days to render alone. We had final gather, Global Illumination and with greg, me and him created a Depth of field camera that we could get to focus on certain areas then change it to focus on another and the renders times grew and grew. Above show the compositing I did to the shots in aftereffects also, I lowered the back lights to give more contrast between the middle of the room and the outer walls where there isn't any lanterns. Greg, Sanjay and Steph worked with me to perfect this shot, we worked together to get the lights well balanced and the blurr of the camera depth.

In this shot the outer walls were textured by me. I modeled and textured the not and the dagger stabbing into the pillar. The camera  for this first long shot of this room was firstly animated by me then developed by greg as he did the setup of this room.

Gambling Room Development

Here is the some development on a scene that I took and did the lighting for. In this scene I also textured the walls and barrels.


 Here is a group of images showing the development of the first shot for the gambling room shot. Its meant to be a darkly lit room where some highlight on the table where the action is based around. Top image is the first one that I created and I wanted to make it seem like the top left corner of the room was where the light was coming from and a highlight on the table itself. I had to play around with global illumination as I wanted some ambient light but those two areas where where I wanted it to be brighter. Also as I am the compositor I have separated all the lights so I can play with them in post. Theres to much room for mistakes in rendering if I started to play with loads of render passes or layers as I can practice but if theres 15 render layers thats 15 different renders, and for one shot its alot of rendering time so we had to make do.


Above are two of many images of the pain I went through to get to the spot and the contrast behind on the box so you can see where that light ends and then further in the background the other light illuminating the background.

Final Development for exterior Boat


 Here are two images showing the bump map that was used as a Displacement map but that was causing huge renders and we had to make cuts to meet the deadline. So I adjusted it abit to make it suitable for bump maps.
Here is a quick render of the ship with its bump maps from the view we see it. I am really happy with it and we plan to smooth it before the big render so we don't get the hard outer edges.

 Here is a print screen of textures in maya. I am happy with the out come of the textures. I would of liked to go abit further with the concept and final details.
Here is another quick render of the textures. Also there is all the other models put in. The ropes need work and some of the shaders need editing but that will be developed while rendering.

Sword Development 2


 Here is the base model I went into zbrush with, What I start with is always basic so I have scope to change things. If I went in with a high poly model then it be hard to change the things if needed. Only time you do a high poly model is when you only adding fine details and your concept is final.


Here is where I have started to work on the shape of the model. The head is separate to the body at this time but I plan to adjust that when retypologising.


I mask areas that I want to paint and add detail to so its easier to create the different shapes.


 Here shows more development into focusing on just one part of the model refining details and getting the shape and details perfect.


 All the images above show how I got the final look. I had to develop my own brush based on the pinch tool so I could get those hard edges in zbrush perfect.


Here is the head textured. There are better renders and stills of this during the video and I will show blog about this later highlighting the final images.

Sunday, 9 January 2011

Sword Development

Here are some screenies of the sword in development. I made the blade, sheeth and hand guard in maya. But then I did the dragon head and the end of the sheeth in zbrush as they have some nice design and shapes that would take ages to make in maya. So I plan to go into zbrush and retypologise when the detail is in place.


 Above is an image of the blade. I tested different shaders but Blinn was the best for the blade as we wanted a nice shine to it.


Here is the texture for the sheath for the sword. It was quite hard to get the texture fitting the way I wanted but through trial and error in photoshop it came out nicely


This image show the gold bit at the end of the sheath. I created the design in zbrush using various tools to make it look hard edge. I don't think retypologising in topogun would be worth my time as the displacement map will do the jump just fine.

Above and below show how I applied a mental ray shader with my displacement map and colour (golden) texture to bring out a nice shine to it. 


Dagger Becomes sword! Development


A while ago I posted a concept for the dagger. I modeled it and went well but we felt that it wasn't grand enough and the design was abit to simple. so We have gone back into development and looked in to royal weaponary of the ming Dynasty. This is the new concept, its a royal blade of its time and I play to use zbrush and maya to create this sword. I will be simplify the model slightly due to time.